DAY 0: 10th November 2019, Sunday
I reached up the Bengaluru Airport at around 8 PM. Since I had no check-in baggage, it took around 10 minutes to get my tickets. Trick here is to allow other passengers with check-in baggage to fill up the queue and then they will automatically shift you to second queue.
I was given window seats for both my flights. You will get the boarding pass for both the flights from Bengaluru Airport itself.
I then headed for Immigration. There are several counters. Stand at the counter next to OCI Passport holder’s counter. The counter is usually empty and the officers do not like to sit idle. You stand in queue and they can directly call you if they find that no one is at OCI Passport Holder’s Line.
Immigration officer in Bengaluru asked me four questions:
Where are you going?
Answer: Sydney via Kuala Lumpur [KL]For what purpose?
Answer: Tourism, 7 day holiday.You are going alone? [With surprised face]
Answer: YesAny relatives in Sydney?
Answer: No.
I had all the documents ready in-case he asks proof of it but he did not ask.
After this, officer stamped my passport in the middle of the page and lets me through the gate.
Next check is done by another officer who sees whether my passport is stamped or not and then directs me to security queue.
During security check, you will have to remove any electronic/metal items you are having. It took around 20 minutes to clear immigration and security check. As soon as you clear security, there are duty free shops, nice cafe and lot of space to sit. You start to see the other side of Bengaluru Airport which I felt is much better than domestic side.
My flight for KL was supposed to leave at 11:45 PM but it was delayed by 1 hour.
I spent my time watching India vs Bangaldesh T20 match. I purchased Snickers packet from the airport (which turned out to be boon later). This is a good time to charge your electronic devices and batteries.
DAY 1: 11th November 2019, Monday
Air Asia !
Air Asia has a concept of boarding the passengers zone-wise. Zone-1 passengers are people who have paid for premium seats or business class passengers and then Zone 2 and Zone 3.
I was a Zone 1 passenger but I did not pay for my seat at all. Coming early to airport helped here. I was not allowed to do web check in via mobile app because it needs immigration clearance first.
Flight for KL took off at around 1 AM. Duration was 4 hours 15 minutes and I reached at 7:40 AM as per KL time.
Original flight timings:
1. Bengaluru 11:45 PM IST – 6:40 AM Kuala Lumpur Time. (Approximately 4 hours 15 minutes)
2. Kuala Lumpur 9:00 AM – 8:30 PM Sydney Time (Approximately 8 hours)
Original plan was to land at KL at 6:40 AM, clear the International Transit Passenger’s security check, refresh myself, explore KL Airport, have food and then board the Sydney flight.
All of this went for a toss as I landed at 7:40 AM.
My flight to Sydney was at 9 PM and the boarding started at 8 PM.
Initially I was walking but then I realized why it is not ending. Terminals are really long; I literally had to run.
The security checks happen twice for international transit passengers and for the first time shoes were required to be removed and for the second time, my bag was opened to question about water bottle. I had to drink it entirely there itself since only 100 ml is allowed.
I reached my gate at around 8 AM and I can see the queue for Sydney Flight. I used the washroom, filled up my water bottle and got in the line. This time, there two queues and two KL officers were at the front of each queue just before the flight bridge and checking the tickets.
KL officer asked me two questions:
Why are you going Sydney?
What is your mother’s name? [Just to check if I know my passport or not]
Officer then tears off a part of my ticket and I boarded the flight. I did not get a chance to eat anything at KL.
I thought of buying something once the flight for Sydney took off.
I was feeling sleepy already but as Sydney has 5 hours 30 minutes time difference with India and my flight was supposed to land at 8:30 PM, that meant I was not allowed to sleep to adjust for jet-lag.
During flight, I came to know it was going to be 8 hours flight. I already had a book and lot of videos to watch for planning my next trip but chose to read a book.
Air Asia first serves the people who have pre-booked a meal.
The not-so-tasty vegetarian meal was served to me almost after 3 hours and costed 22 MYR. I did not have Malaysian Ringgit and allowed me pay me in INR. Cost was 400 INR. The flight attendant returned me 6 MYR change. Before this I had finished off Snickers Packet which I purchased in Bengaluru.
During my flight, I met and talked to an Indian woman who was married, had two kids, settled in Sydney and was returning from a solo trip of Malaysia (Point to ponder: How many Indian husbands are willing to let their wives go on a solo trip, that too, after marriage?). She gave me lot of good tips with respect to what I can see in Sydney.
You are given a passenger card by Airline where we have to declare items and answer some basic questions. This card is important; fill it carefully and should be presented with the passport.
Finally!!!
11th November 8:30 PM, I landed at Sydney International Airport.
While I headed out for immigration, just in-front of toilets, there’s a rack. From there, you can pick up Sydney’s official Guidebook and fill up your water bottle.
The Sydney’s official guidebook contains lots of information about what all you can do in Sydney, walking tours and there are discount coupons for each location at the end of the guidebook. This will save you some money if you have not done bookings before [More about this in the Part 3 of this series].
I filled up my bottle and headed for immigration.
There are two queues at immigration, one for people who are returning to Australia. They have a very fast immigration process for them. We have to join the second one. If you are not sure, ask around. There are ATMs just before immigration and if you want you can get your money from there itself.
Immigration queues can be long so I joined the queue and connected to free Airport Wifi. As I reached near the immigration counter, I was asked to switch-off you mobile as it was not allowed near immigration.
Immigration officer in Sydney did not ask anything which surprised me. She scanned my passport and marked ‘E’ on the passenger card which I filled up in the flight. She did not stamp my passport at all.
Smooth Experience!
Next is an area where you pick up your bags. Next up was security which was again over in 5 minutes. Do not bring anything eatable to Australia. They are very strict about it.
Before I exited the airport, I took three things:
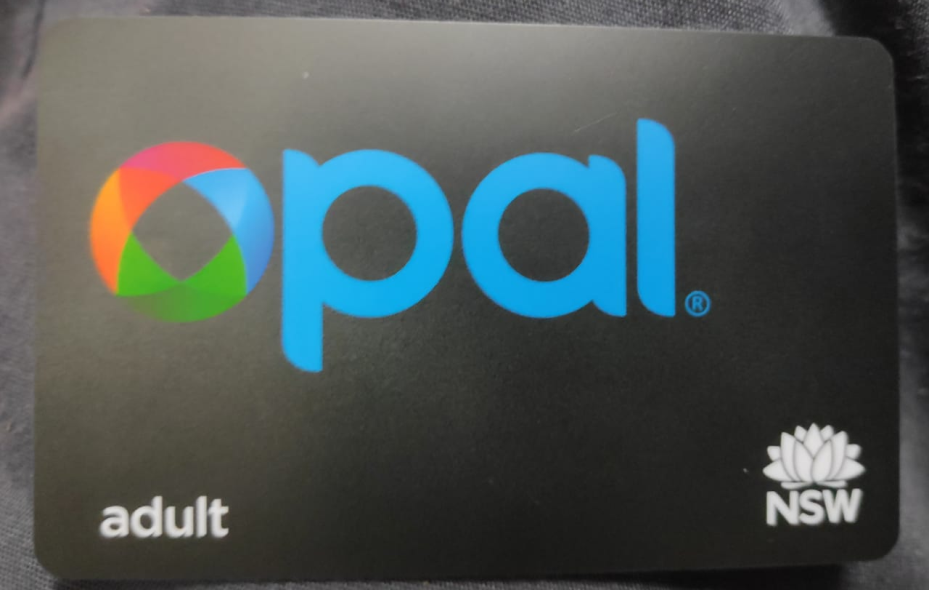
a. OPAL Card – This is a must if you are travelling to Sydney. You load up money on this card and use it to travel anywhere in Sydney. OPAL Card can be used on bus, train, light rail and ferries. I loaded 50 AUD on it and paid via Forex Card. You just need to tap on which boarding a transport vehicle and tap again while getting off. It same as Metro Card used in Bengaluru Metro.
b. Took Optus SIM card – 30 dollars. 60 GB data plan. [More about this on Advice section]. These guys activated my SIM immediately after taking information from my passport. Buy SIM from Airport only because of offers for travellers.
c. Took out 100 AUD at airport ATM from forex card. ATMs can be a bit confusing. Do not enquire for receipt of cash as this can cause extra money. I did it and it cost 2 AUD extra. You will get an email saying how much the balance is.
Total cash with me: 100 AUD.
On Forex Card: 300-30-50-100 = 120 AUD.
As soon as the SIM is activated, call you friend/relative/guardian and do inform them that you have reached safely.
Now I wanted to go to Sydney Central station. The easiest way was to catch the Sydney’s Metro right from the Airport but that costs 2.52 AUD and additional 14 AUD each side because the Airport’s metro stations as managed by a private company. So total charge would have been 14 AUD + 2.52 AUD = 17.52 AUD.
To work this around, there’s a Mascot Station 1.8 km away from Sydney Airport. You can walk there then catch the train to Sydney Central. This will cost you only 2.52 AUD. Not recommended if you have luggage.
I thought I should take bus to reach Mascot. Google maps suggested me bus number 420. As soon as I boarded the bus, after 5 minutes I asked the driver is this going to Mascot station [as per Google Maps]. Turned out the bus was coming from Mascot station and it’s a one way bus!
I boarded the wrong bus on my first international trip!
So, I was advised by people around me to get down at next stop but they did not tell what to do next from there.
I started using Google Maps to find out there’s Arncliffe railway station next 600 metres away from my current location.
I reached there after 15 minutes of walking. During walking I was able to realize, people follow traffic rules and no one was using horn on road.
The time was around 10:30 PM now. I did not have a proper sleep for past 17 hours.
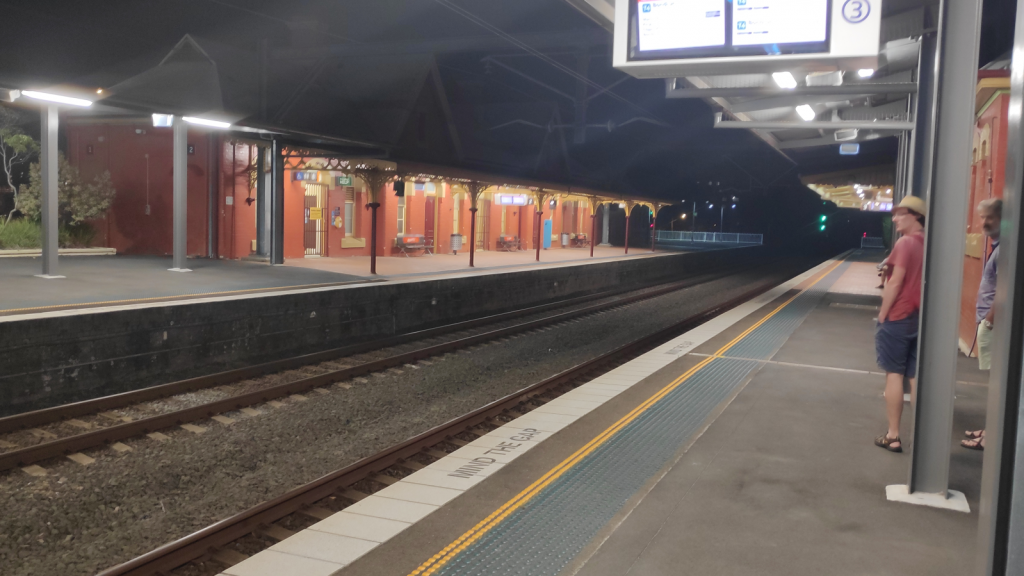
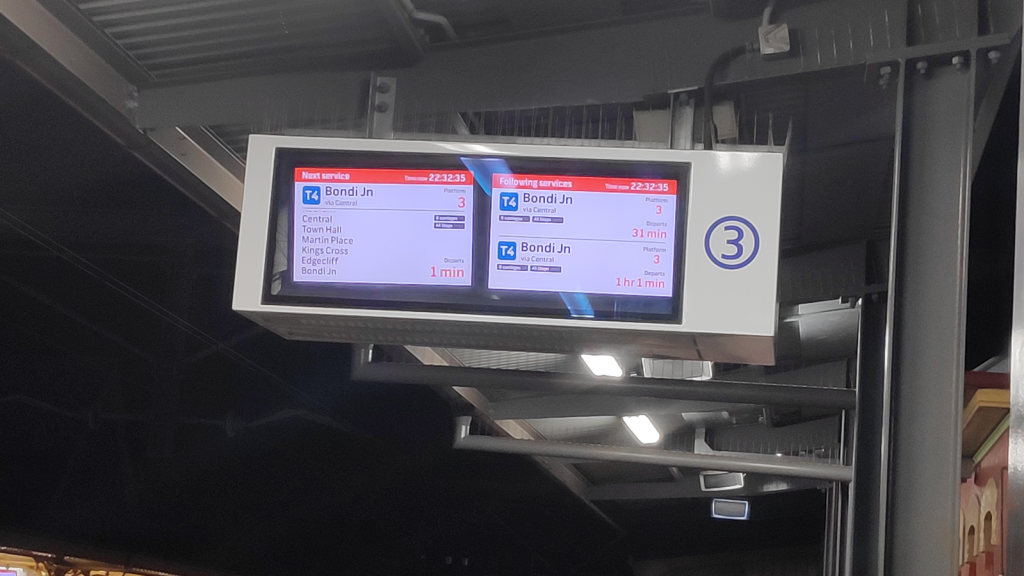
So, I reach the railway station and tap off my Opal Card. The railway station had screens to tell when the next train will arrive and where all it will be going. I was able to see the location of train on Google Maps!!
I boarded a train and started talking to another old woman as she was eating some vegetable salad. I asked her about vegetarian options available at this time. She was generous enough to offer me her box of vegetable salad and I had to politely decline.
I got off at Martin’s Place and then walked off to my hostel: Mad Monkey Backpackers Hostel in Broadway. This was 1.2 km away from Martin’s Place station.
After walking, I reached my hostel at around 11 PM.
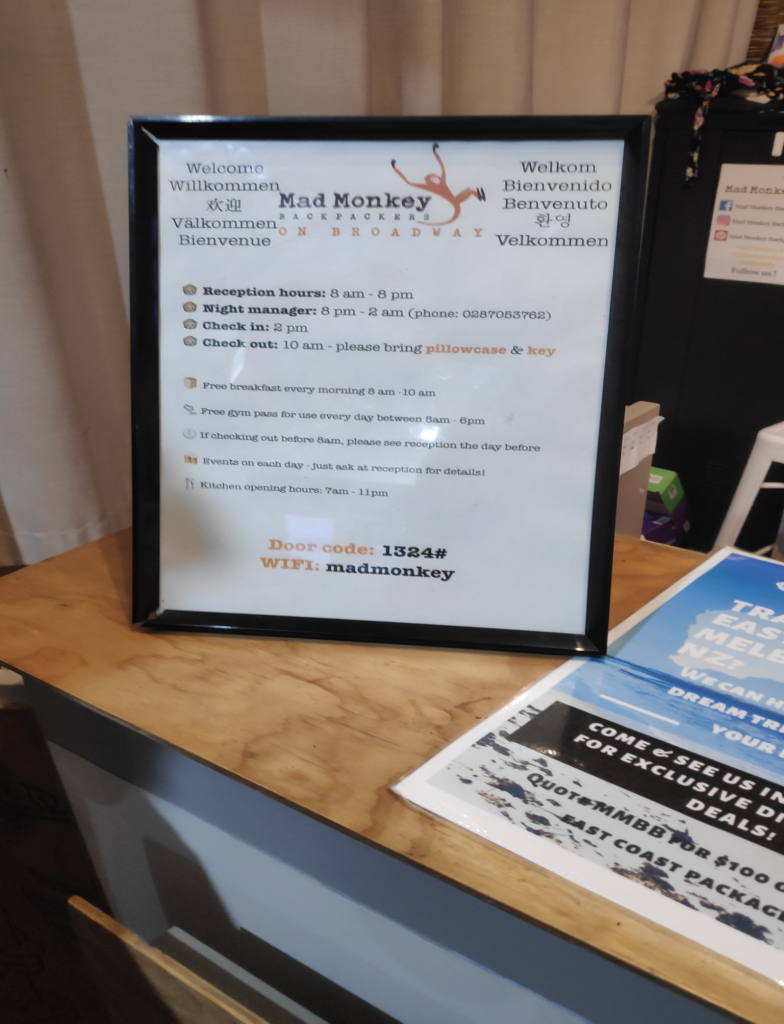
The night manager there showed me the room, the common area and explained basic rules. He also told me about free breakfast timings. There was no password for the Wifi. It was free for anyone! Sydney already has a lot of places with free wifi.
I then ask him where I can get something to eat at this time as I already had a not-so-tasty vegetarian meal on the plane which was not good enough.
He advises me to go to nearest supermarket – Coles, which will close in 30 minutes.
I go there and I amazed to see the variety of food and other items.
Being a vegetarian I got confused several time that what should be a good option at this time. There is no green dot on the foods there. You have to read the ingredients.
I was able to see a lot of frozen food options but I did not want eat that junk at night.
I saw a few familiar options and picked up 5 bananas for 3.5 AUD and 1 big packet of American salted peanuts for 4 AUD. For checking out the items, I learned how to do self-checkout for the first time. I again used my Forex Card here.
Buying out Peanuts was one of the good decisions taken which you guys will come to know as the journey progresses.
I came back to hostel, had two bananas, some peanuts and then I retire for the day.
Detailed Expense sheet till now: [I am assuming 1 AUD = 50 INR for easy calculation]
- Snickers packet at Bengaluru Airport: 220 INR
- 0.5 litre water bottle at Bengaluru Airport: 65 INR [This water cleaned me off all my past sins!]
[Challenge to readers: Find a place in Bengaluru Airport after immigration which sells 1 litre water bottle.] - Food in plane: 22 MYR – 7.7 AUD – 400 INR
- Optus SIM card – 30 AUD – 1500 INR
- OPAL Card – 50 AUD – 2500 INR [This will cover the transportation for the week]
- ATM balance enquiry fee – 2 AUD – 100 INR
- Bus ride + Train Ride to Hostel – No cost – 4.5 AUD deducted from OPAL Card.
- Banana + Peanuts – 7.5 AUD – 375 INR.
Total Day 1 cost: Rs 5160 approximately.
Hostel: Mad-monkey Backpacker’s hostel Broadway.
They have free Wifi and free breakfast. There are private rooms as well for couples. It is one of the top rated hostels in Sydney. This cost me around 14000 INR for 7 nights.